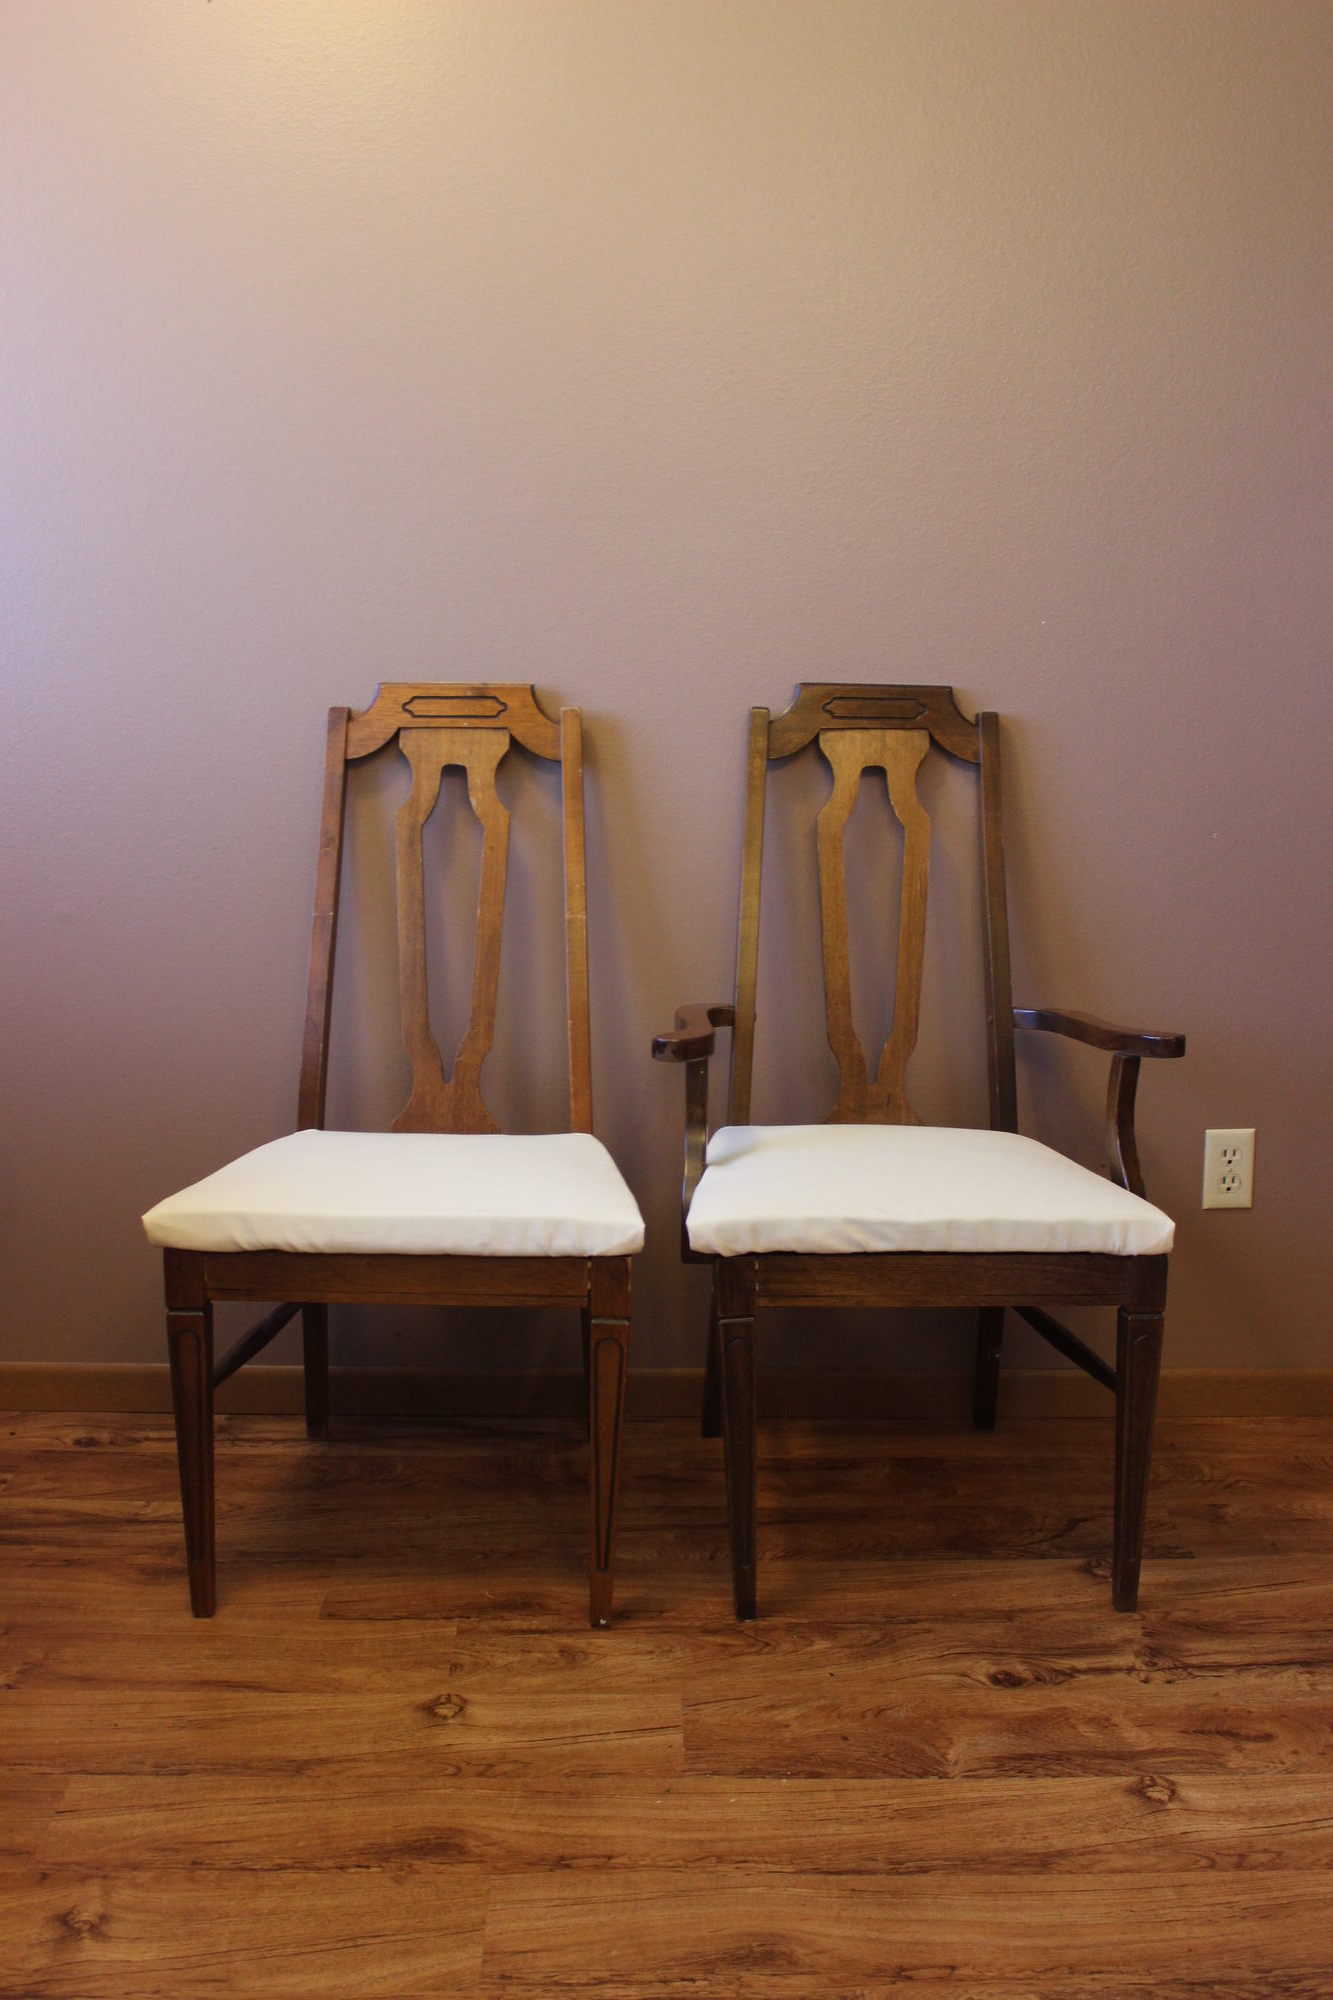
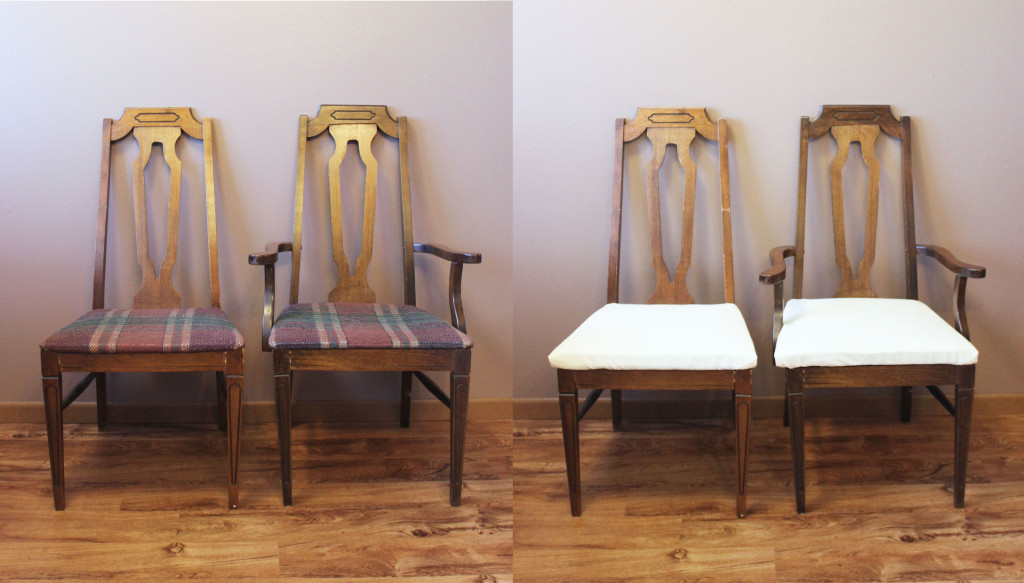
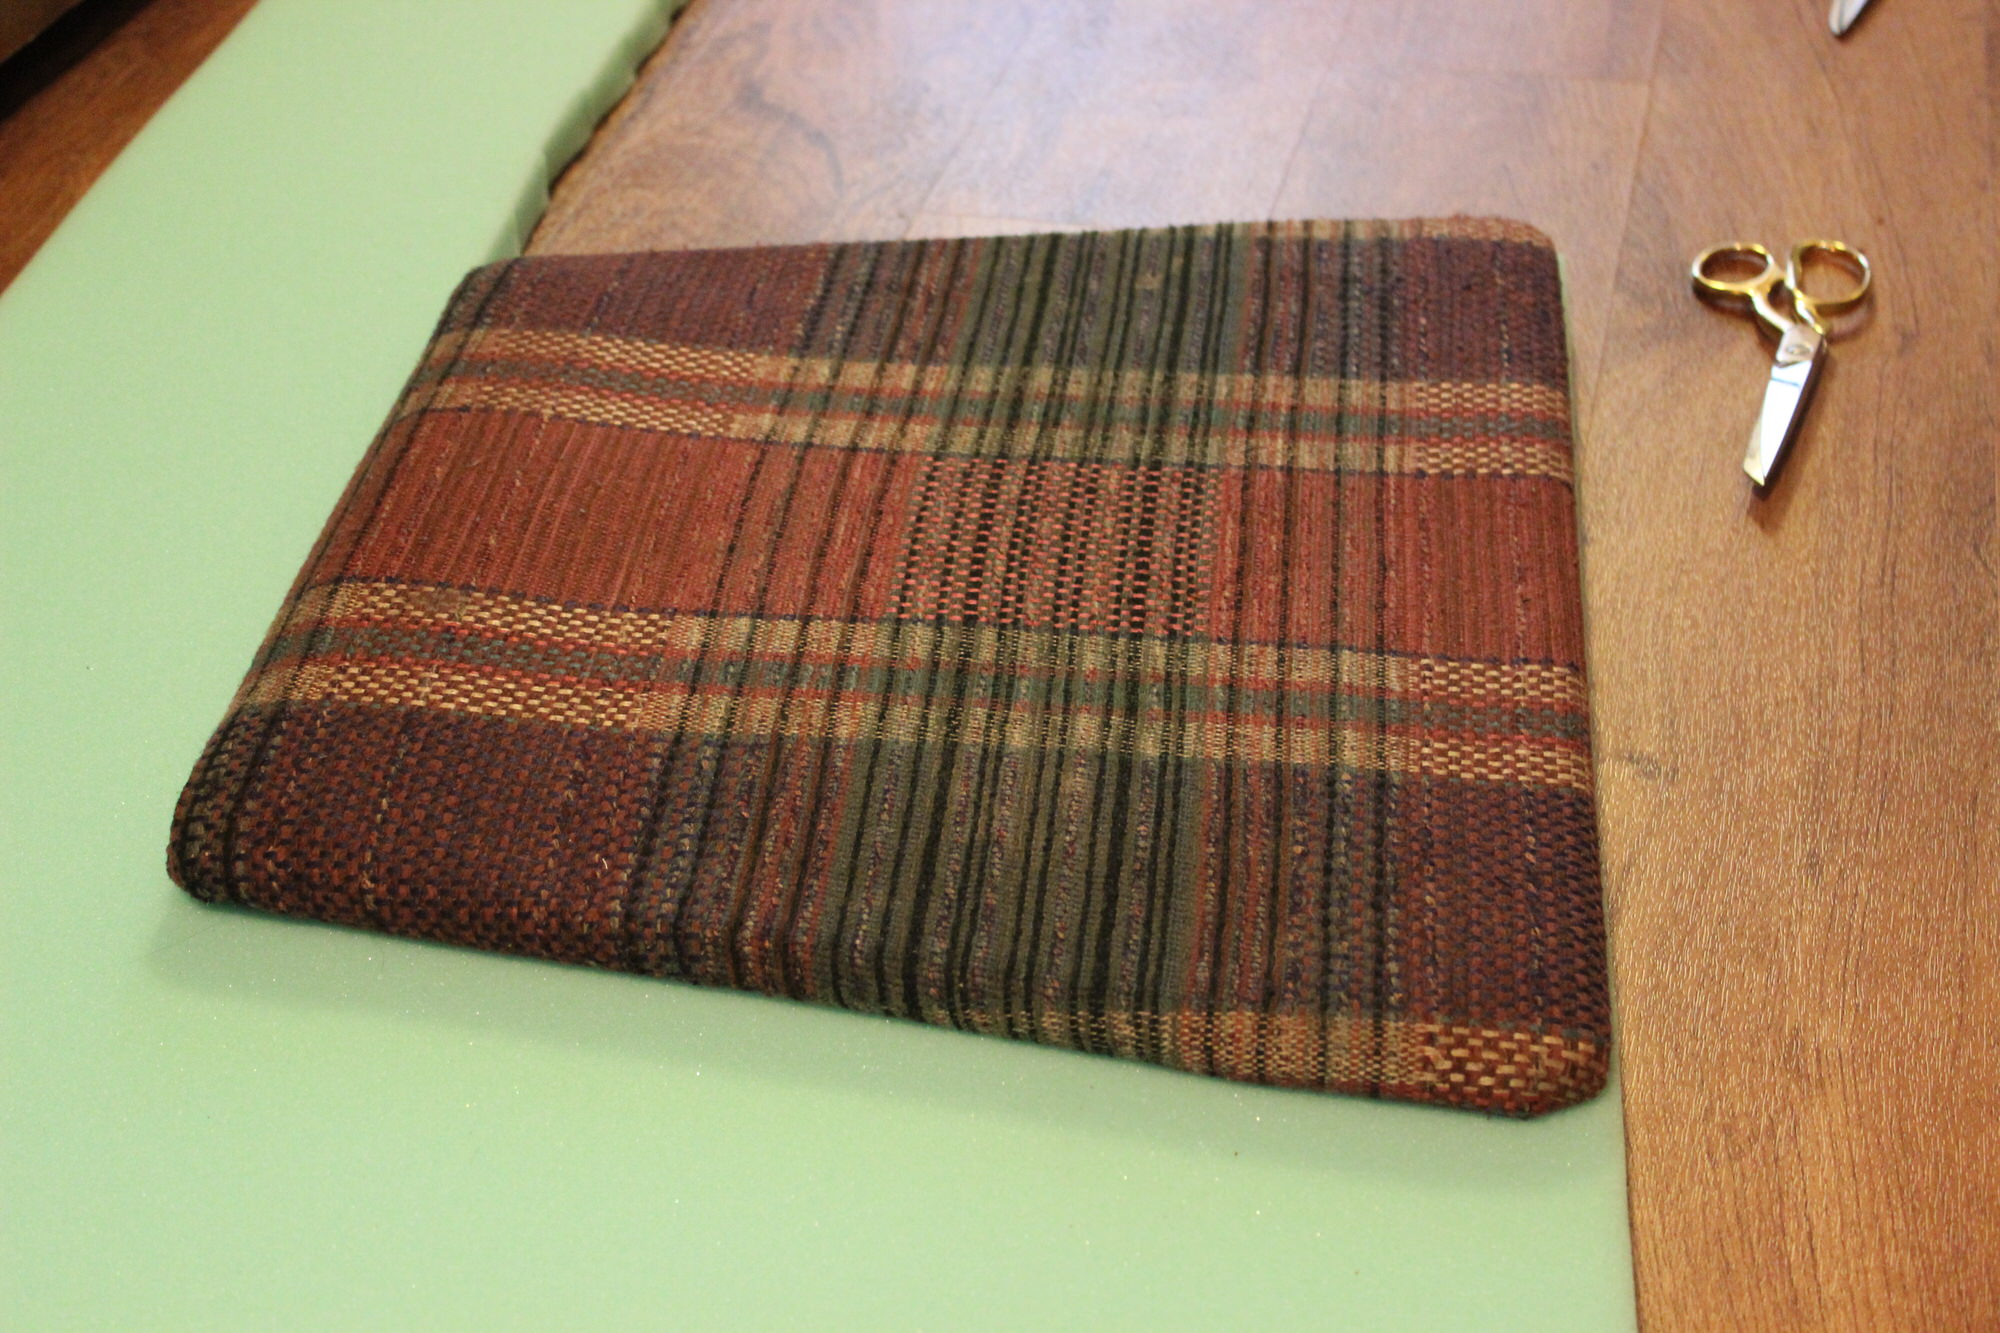
I searched on Craigslist for table and chairs weeks before moving to Iowa, and lo and behold this beautiful set was available the day after we moved in, so I pounced. Aren’t the chairs just the cutest!? But isn’t the plaid just the worst?
As soon as we got our dining table and chairs, I saw a reupholstering project coming up. I have never done one before, but if I were to start with one, this was probably the best one to do since it is about as simple as it gets.
I won’t go into detail of how I did it because there are hundreds of blog posts on Pinterest that would do a billion times better job than me but this is what I learned to do (or not do) next time.
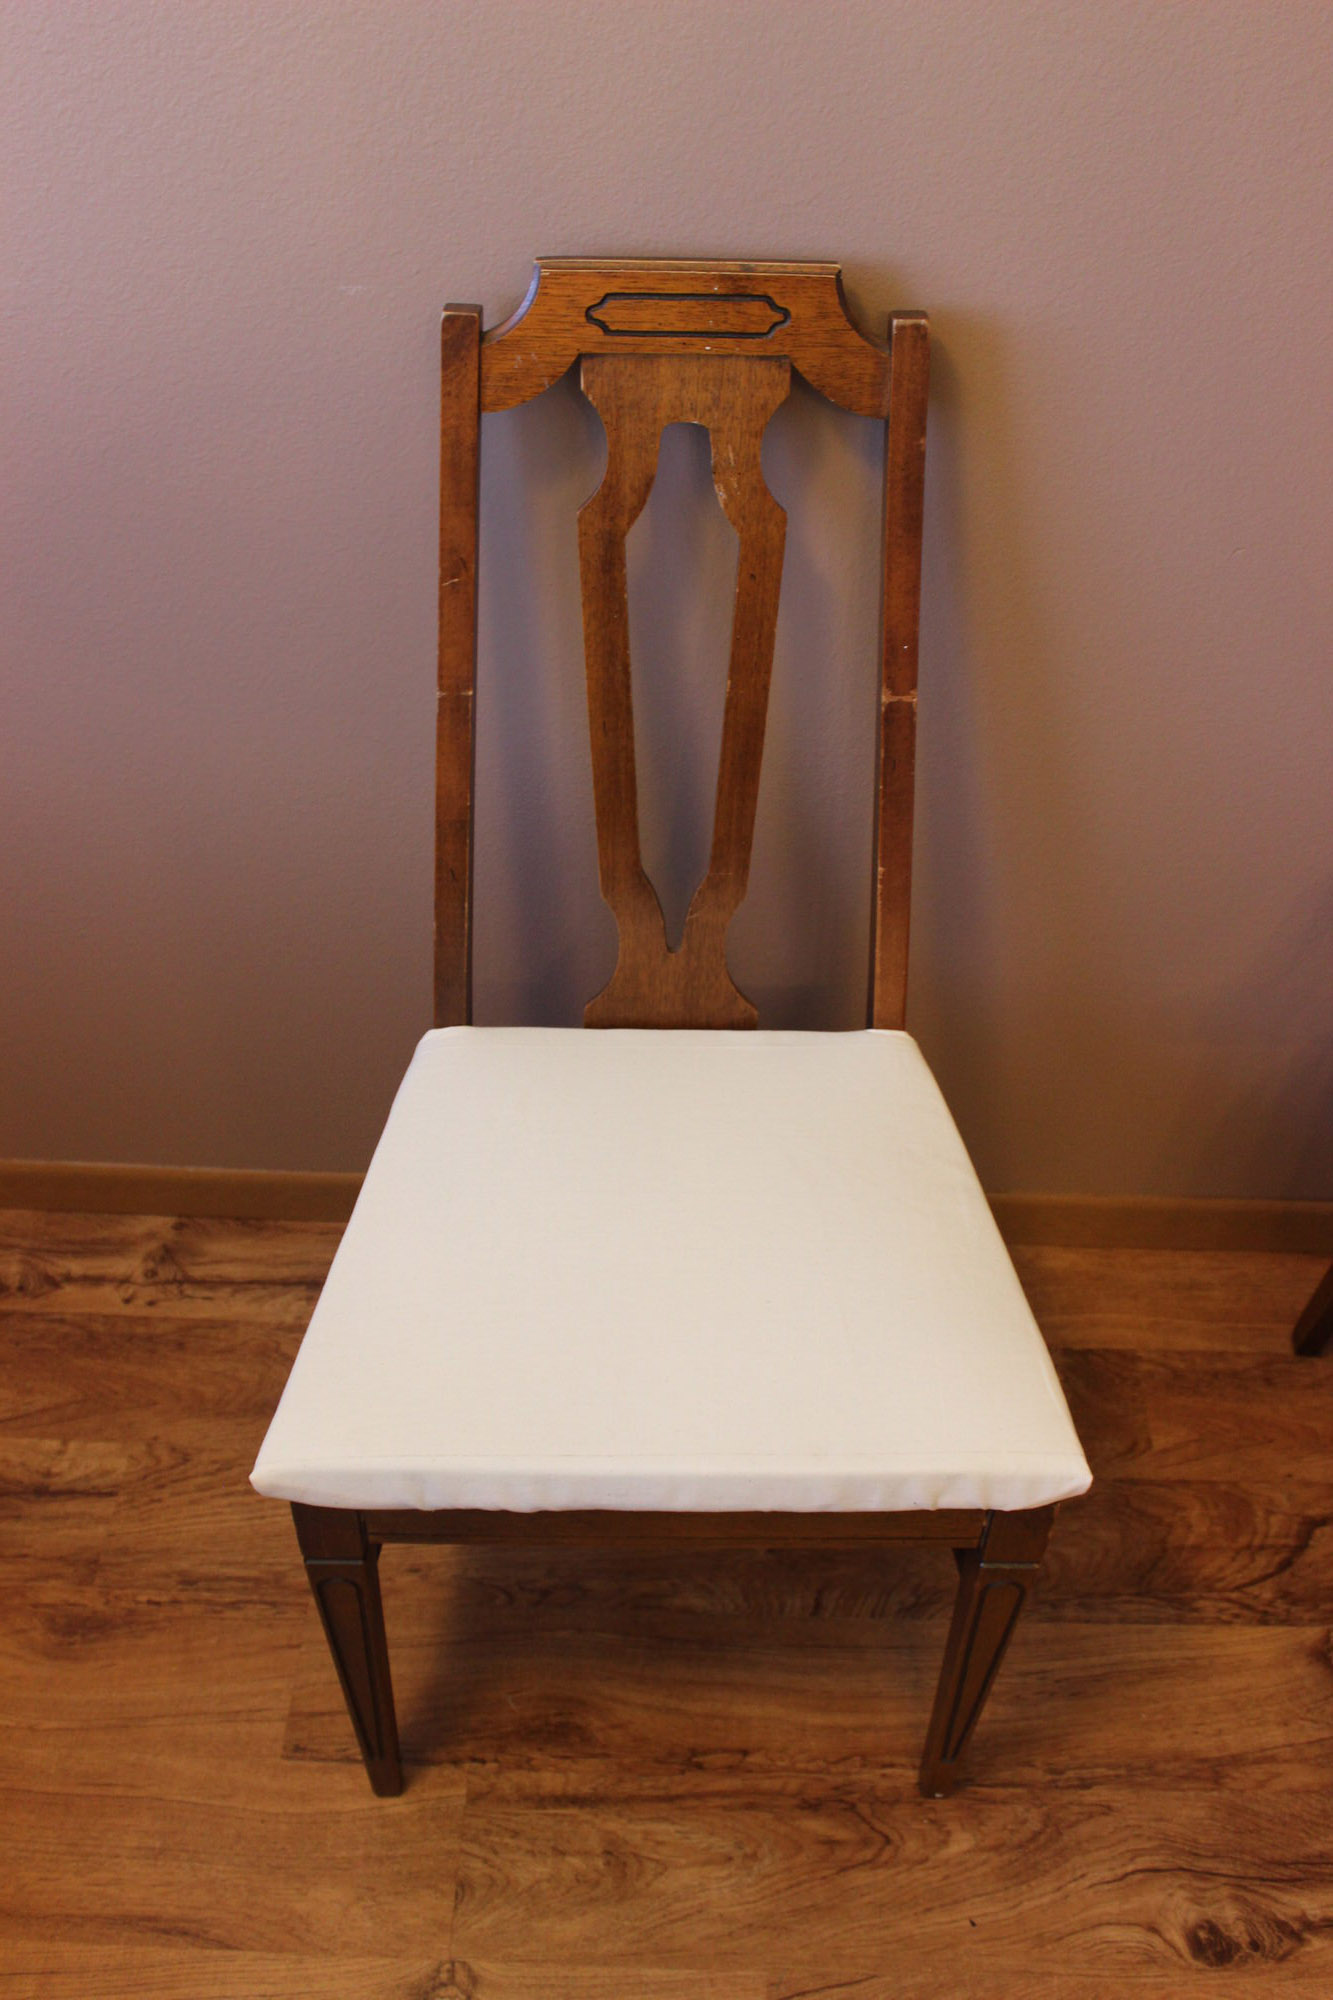
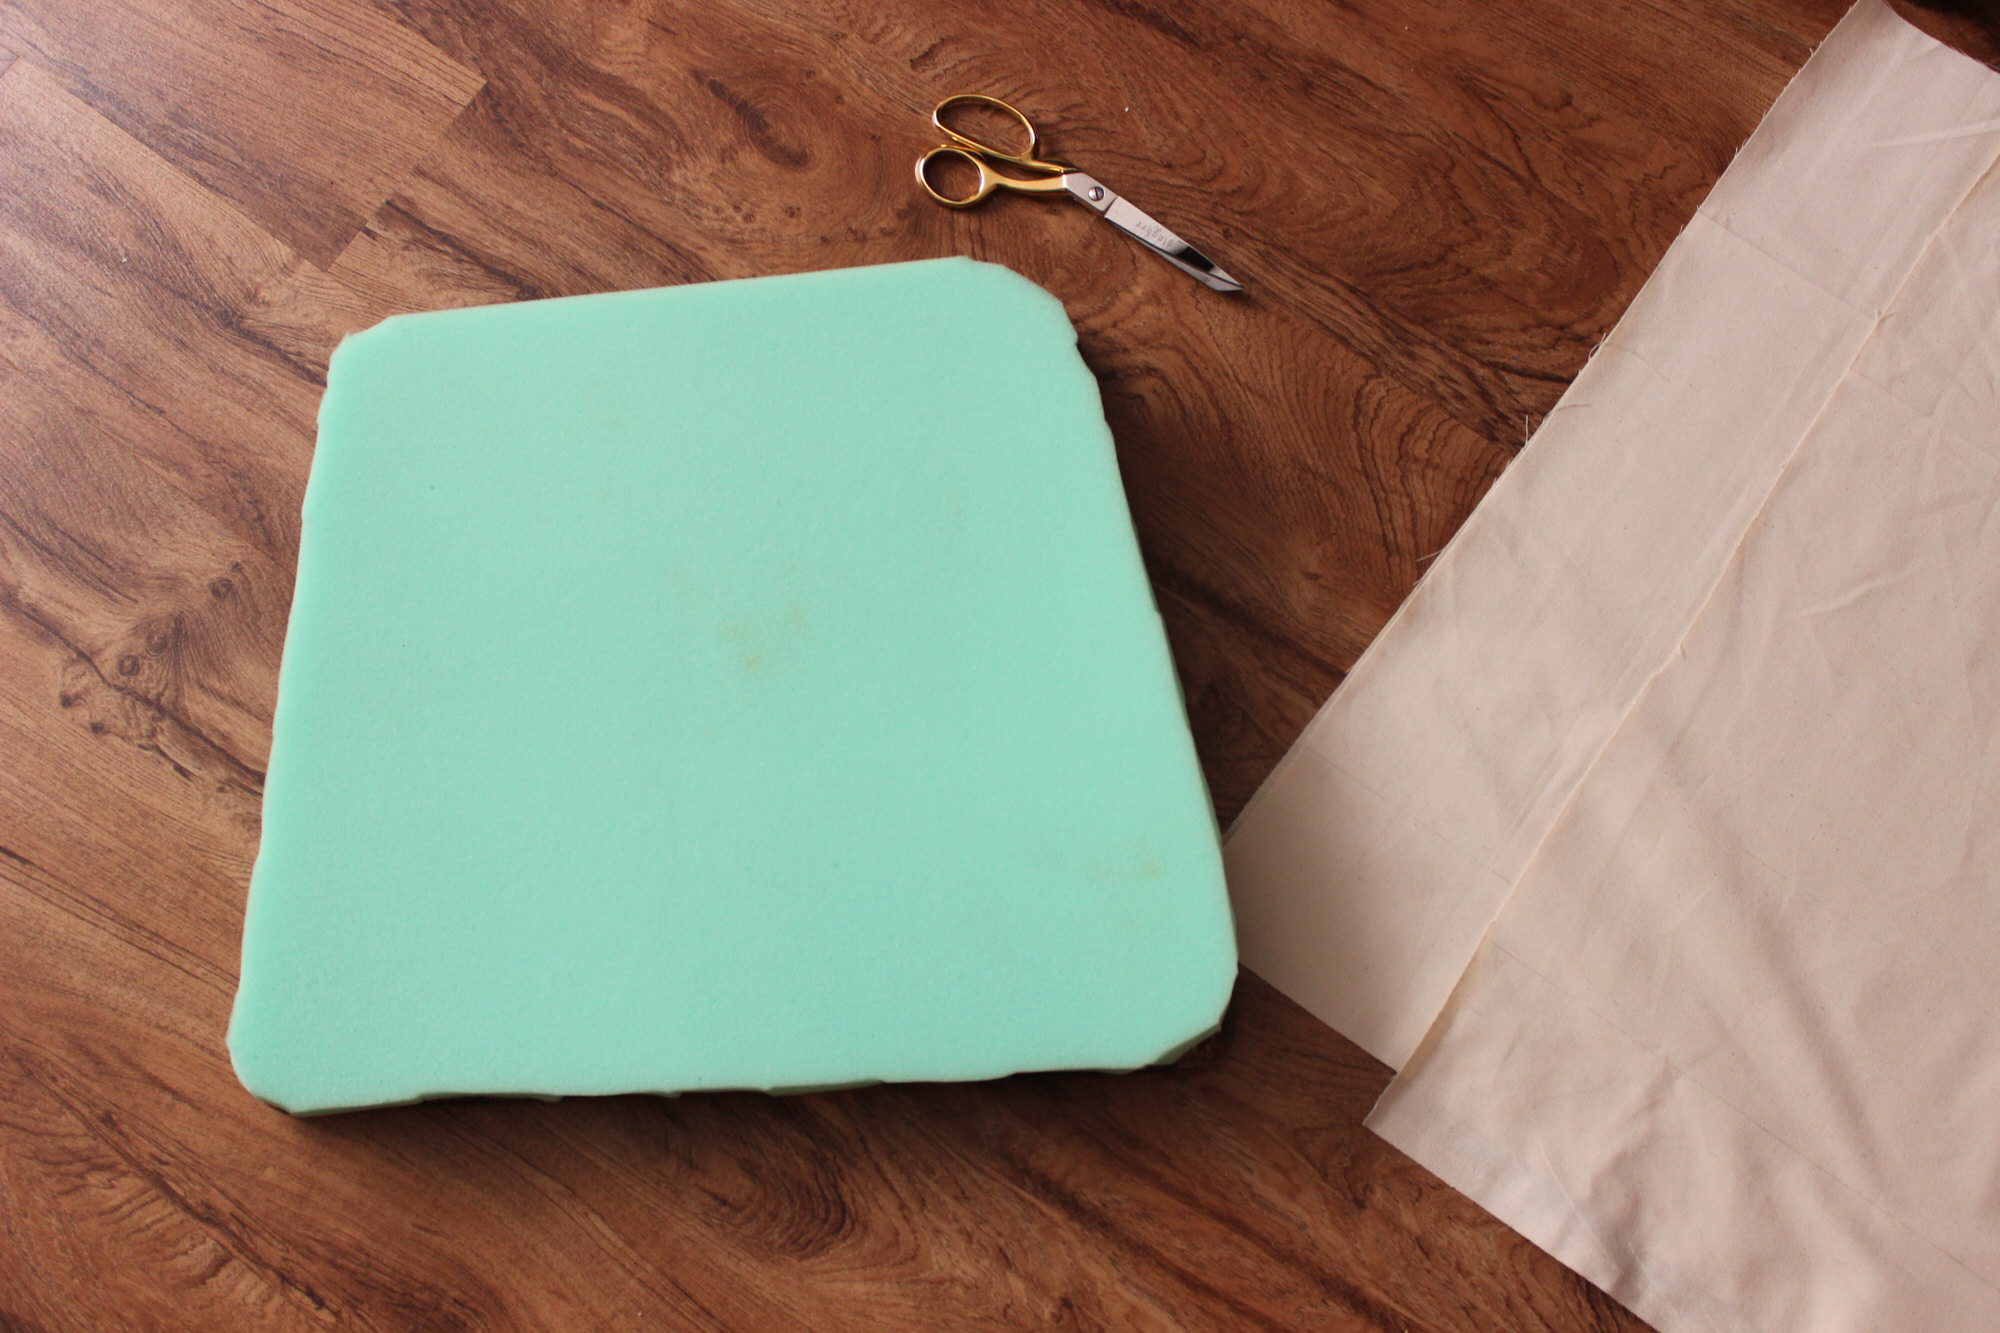
1. On the first few, I rounded the corners of the foam because the seats are a little rounded but that made it a lot harder to make a nice fold on the edge and it doesn’t look as nice as the ones where I kept the corner sharp. I doubt I will ever reupholster a trapezium shape again but now I know to keep corners sharp.
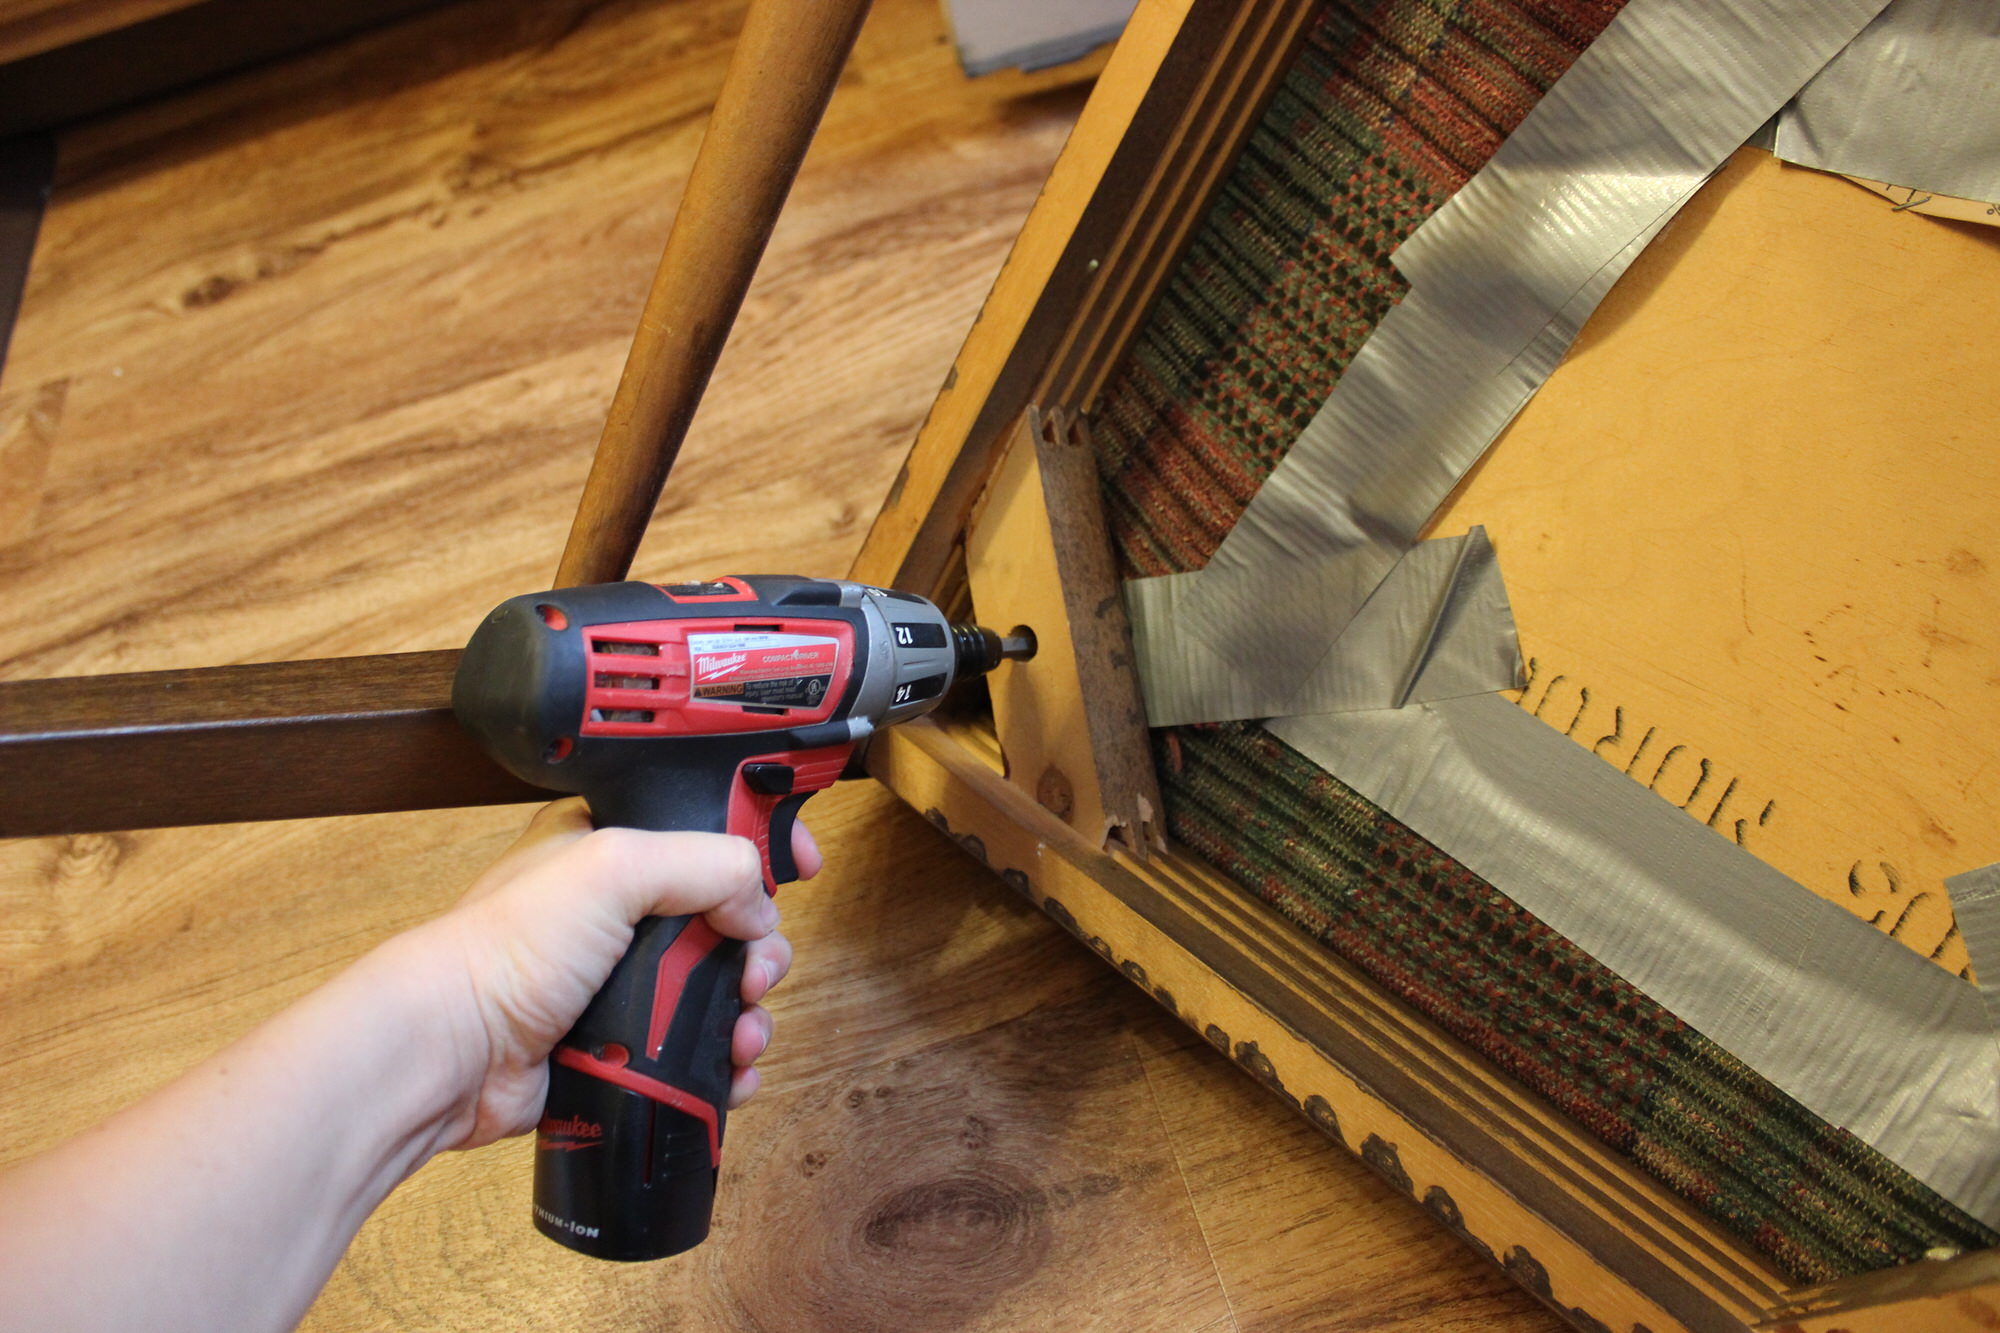
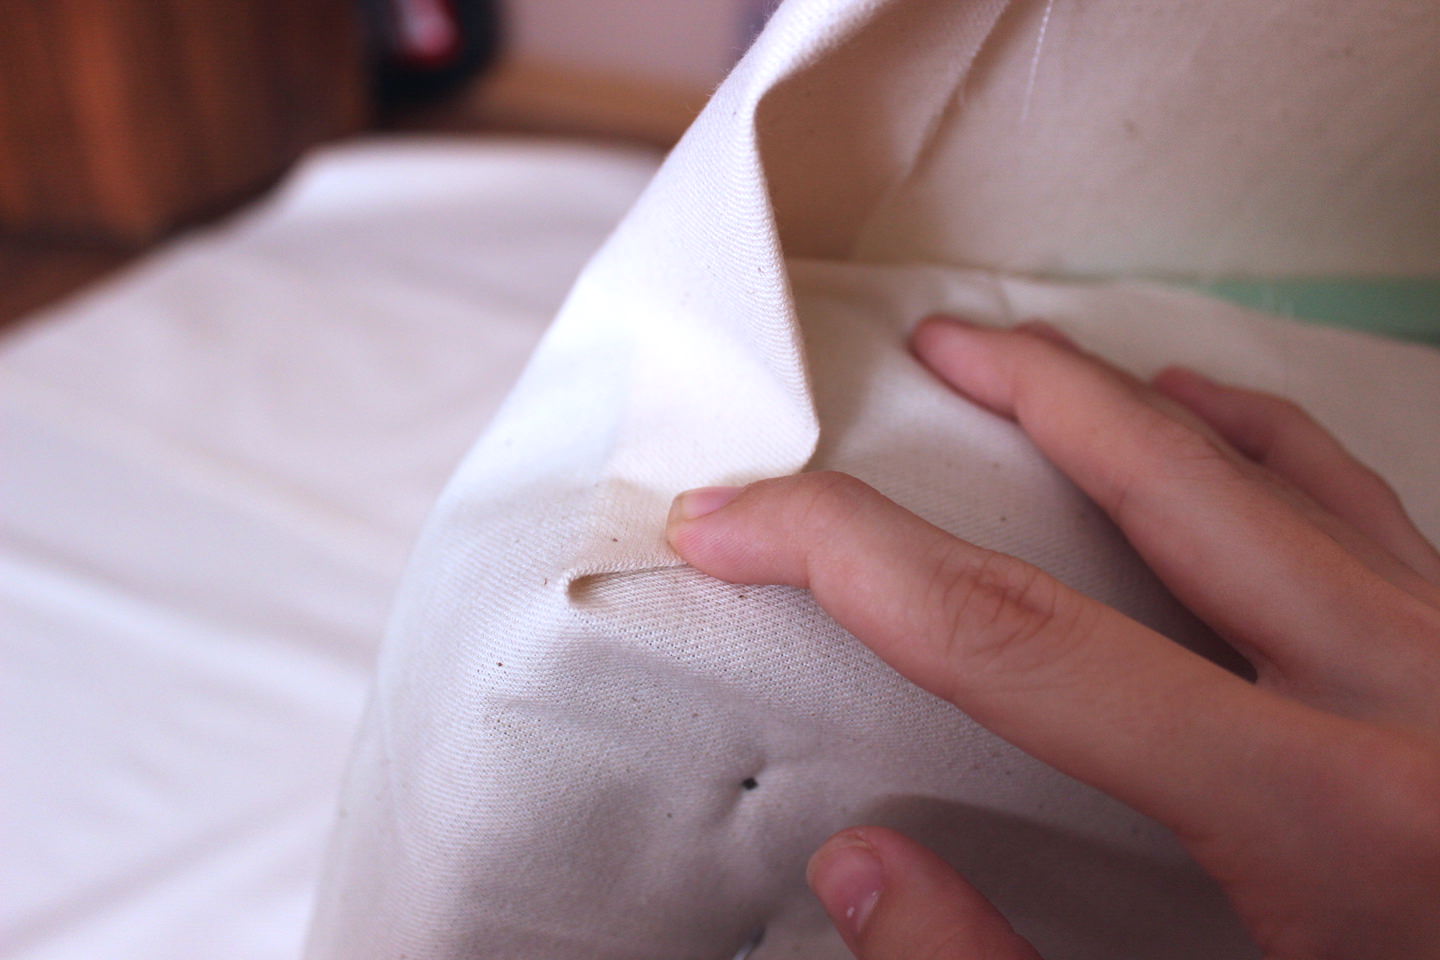
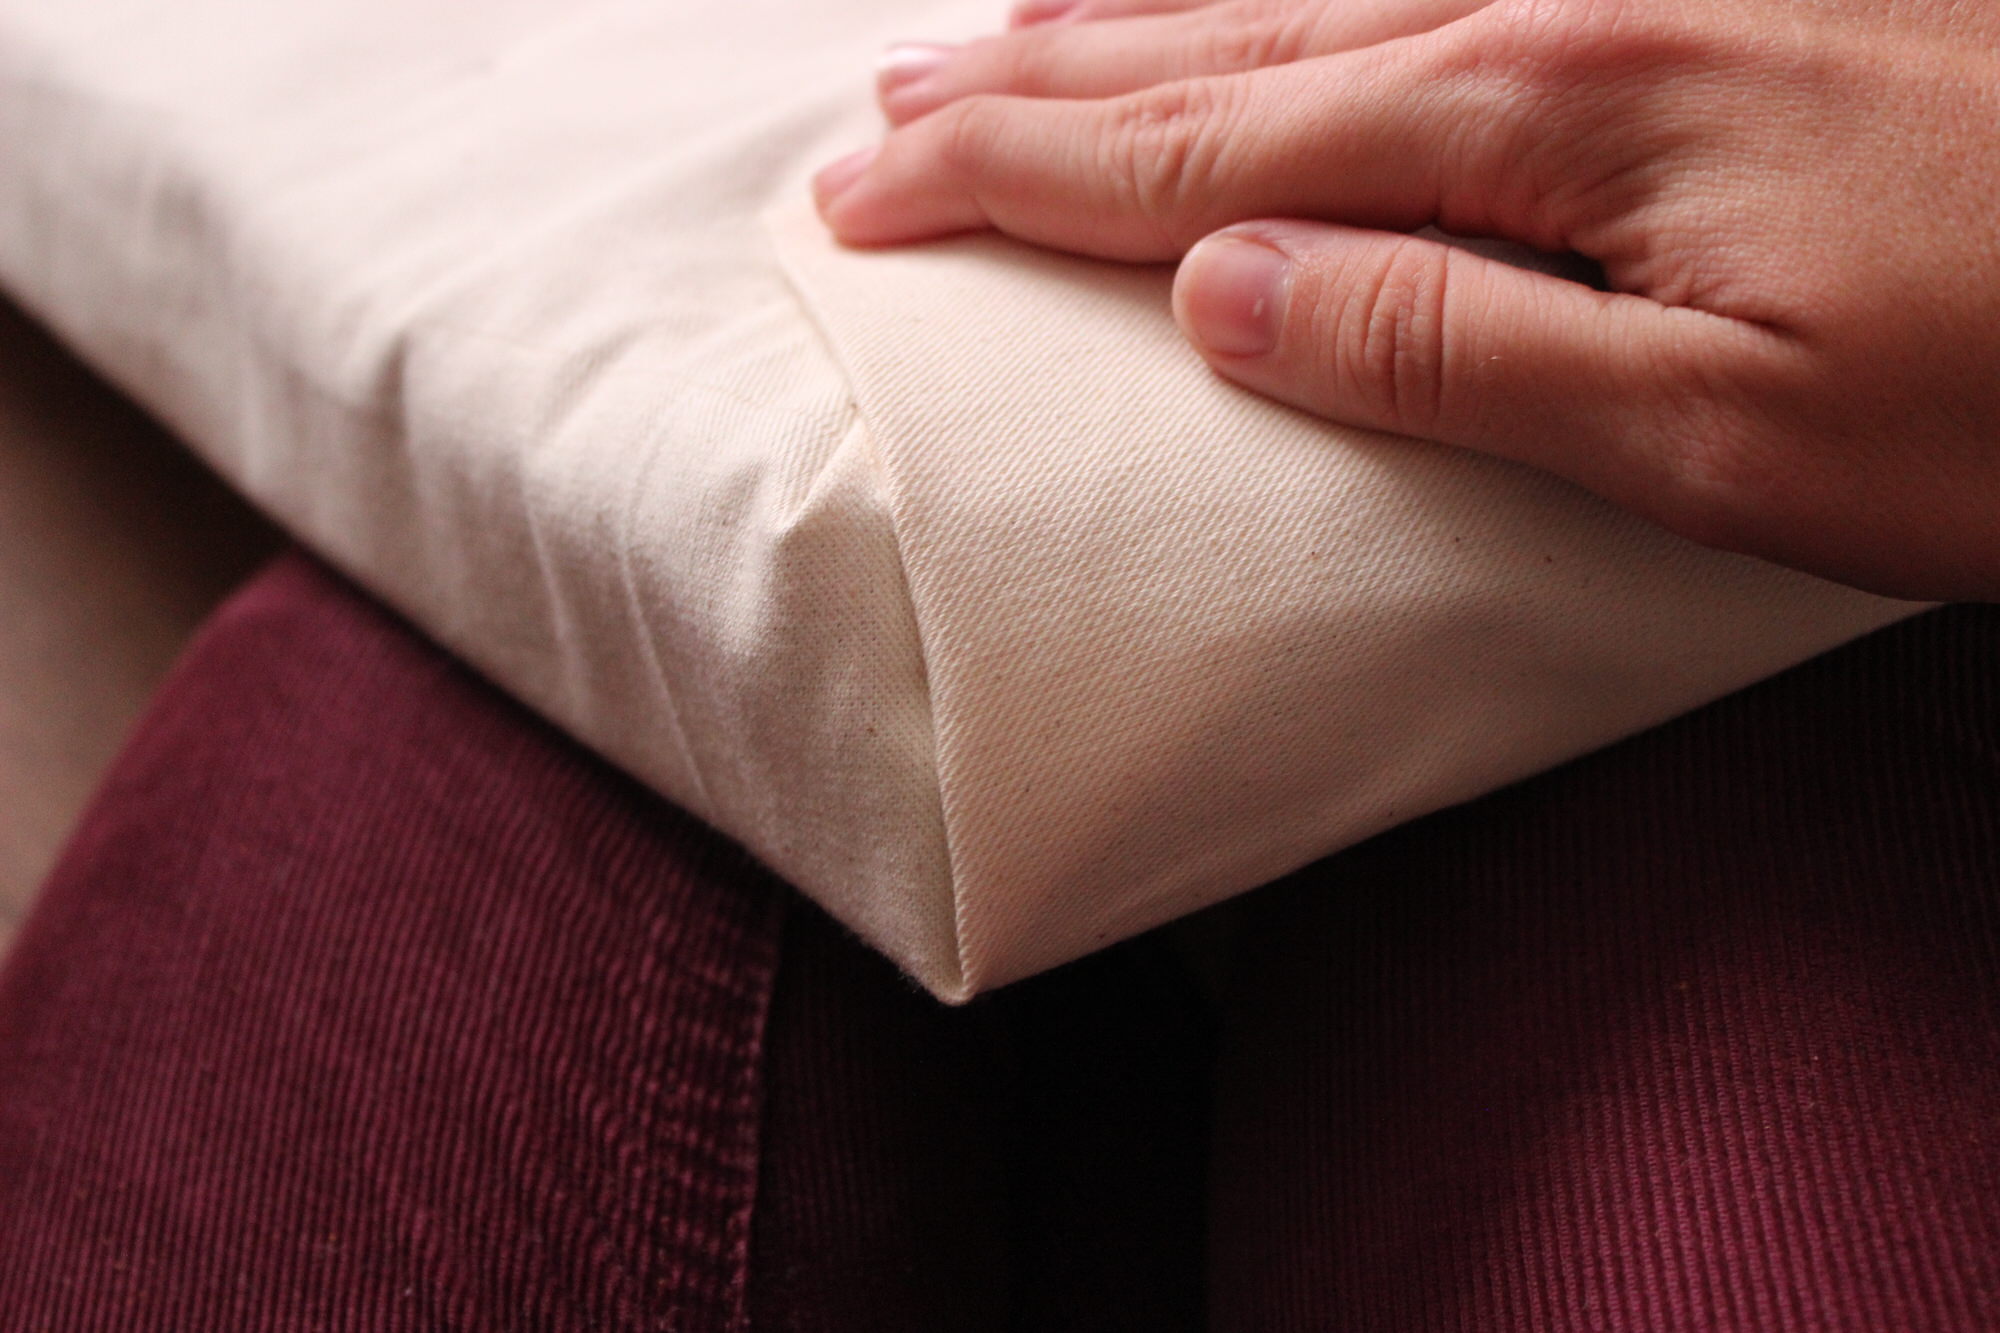
2. When putting the fabric on the seat, I would fold over the left and right sides, then fold the top and bottom over it. When I did the top or bottom, I folded each side and then stapled towards the middle which I realized made it harder to avoid wrinkles (you can slightly see some in the after photo). Next time I will probably fold one side and then make sure I smooth out all wrinkles before I staple the opposite corner.
3. I borrowed a staple gun from a friend and I used both nails and staples on the back. The nails went into the wood easier but the staples held onto the fabric better so I think next time I will use both again.
4. I waited to buy the foam and fabric until Joann’s had a sale and man I am sure glad I did. The foam I got was 90″ long and would have cost $50 but I got it for $28, and the fabric was $25 but I got it for $9 so altogether this project cost about $40, which is only $10 a chair. And man did it make a huge difference. Now I am thinking about spraying some type of water-resistant on it to protect it from getting dirty. Any suggestions?