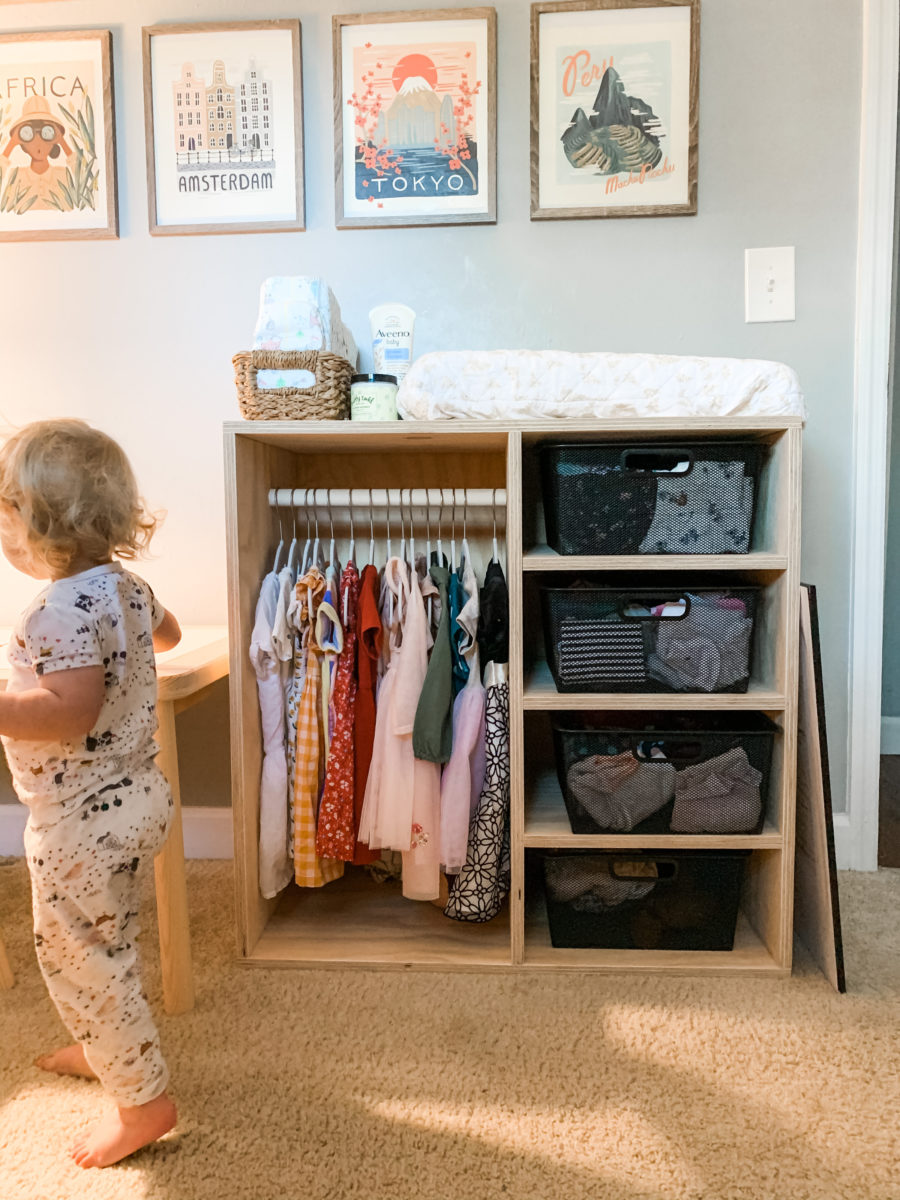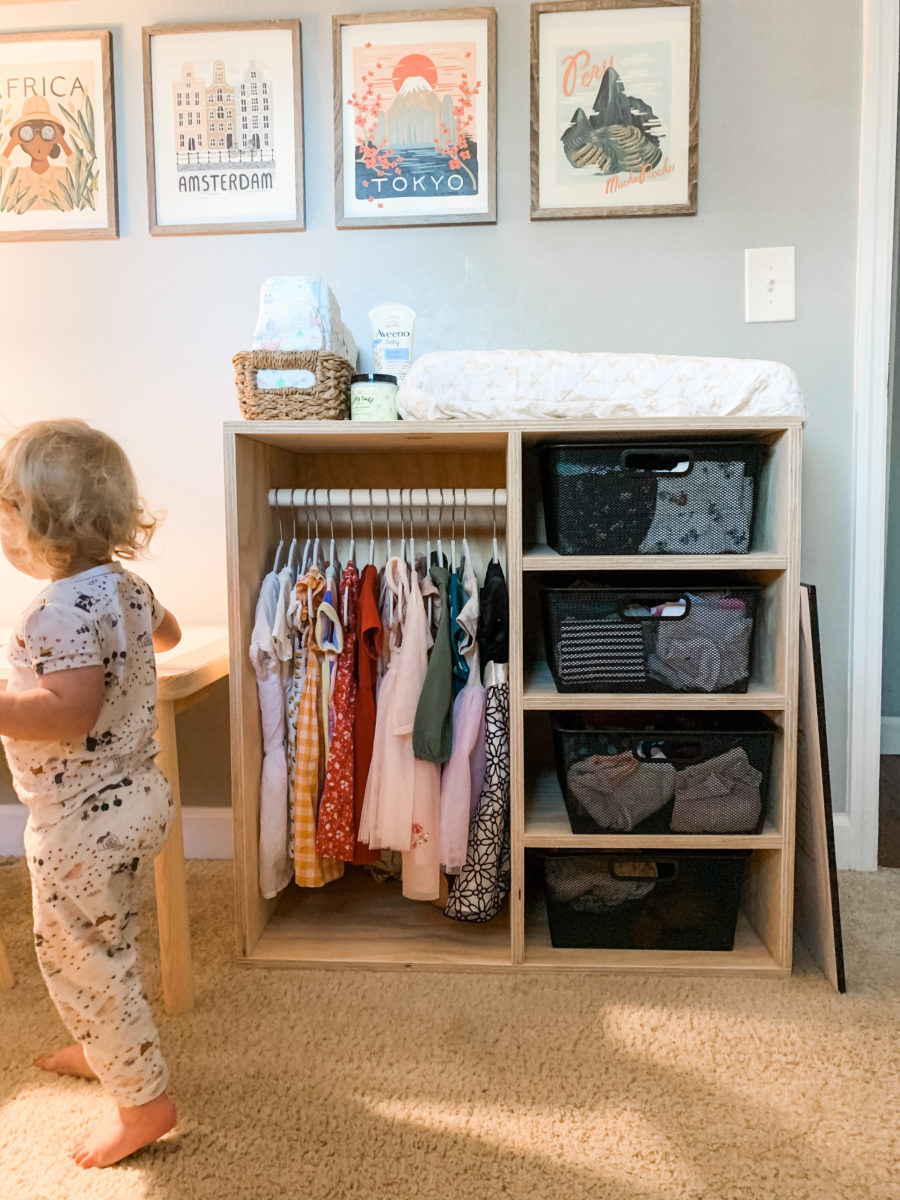
I am all about instilling independence and autonomy in my daughter and one way I know I can do that is by giving her the opportunity to dress herself. Although she is only 21 months old and not old enough to get her own clothes on, I wanted to make it now so she can get used to having it in her room. Once we put it in her room, she has loved looking at her dresses hung and usually requests her purple tulle dress to wear every day!
I got the idea to make my own from this website. I didn’t use their measurements but I could see how simple the design was and used it for inspiration.
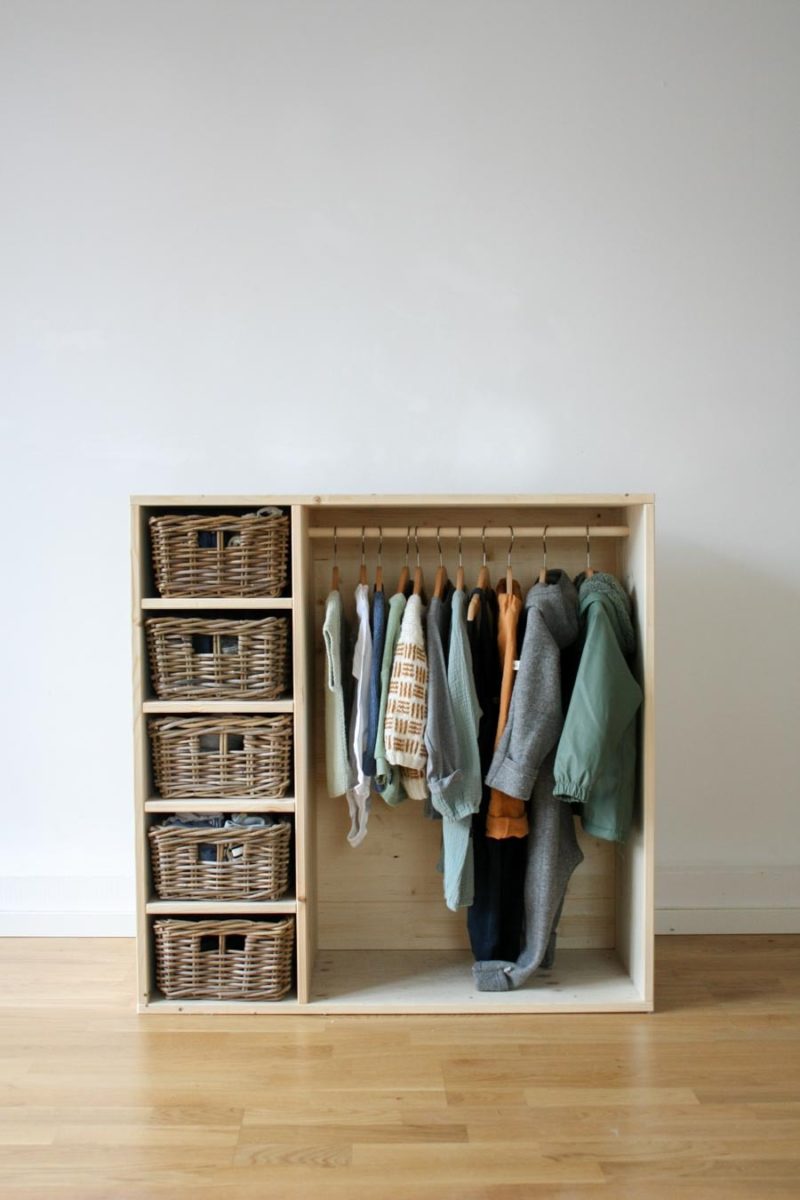
Supplies & Tools Needed:
- 4 x 8 feet board plywood
- 1″ dowel
- Nail Gun
- Saw (we used our circular saw to cut the dowel and had the board cut at Home Depot)
- Sander (we own this one)
Optional Supplies:
- Baskets (I bought these cute metal ones from Target)
- Kid Hangers
- Basket for diapers above the dresser (I love this one because it fits a row of diapers perfectly!
We wanted to make it as inexpensive as possible so we figured out the math to only use a single 4 feet by 8 feet sheet of plywood. For the board and dowel, it was right at $50! If you don’t own a nail gun, saw, or sander ask around to borrow one or rent for the day! It only takes about an hour to set this up.
When you buy your board, have them cut the board into the measurements below. Have them cut the board into three strips of 16″. And then have them cut each 16″ x 96″ board into the measurements:
- Four 32″ x 16″ boards
- Three 30.5″ x 16″ boards
- Three 14.5″ x 16″ boards
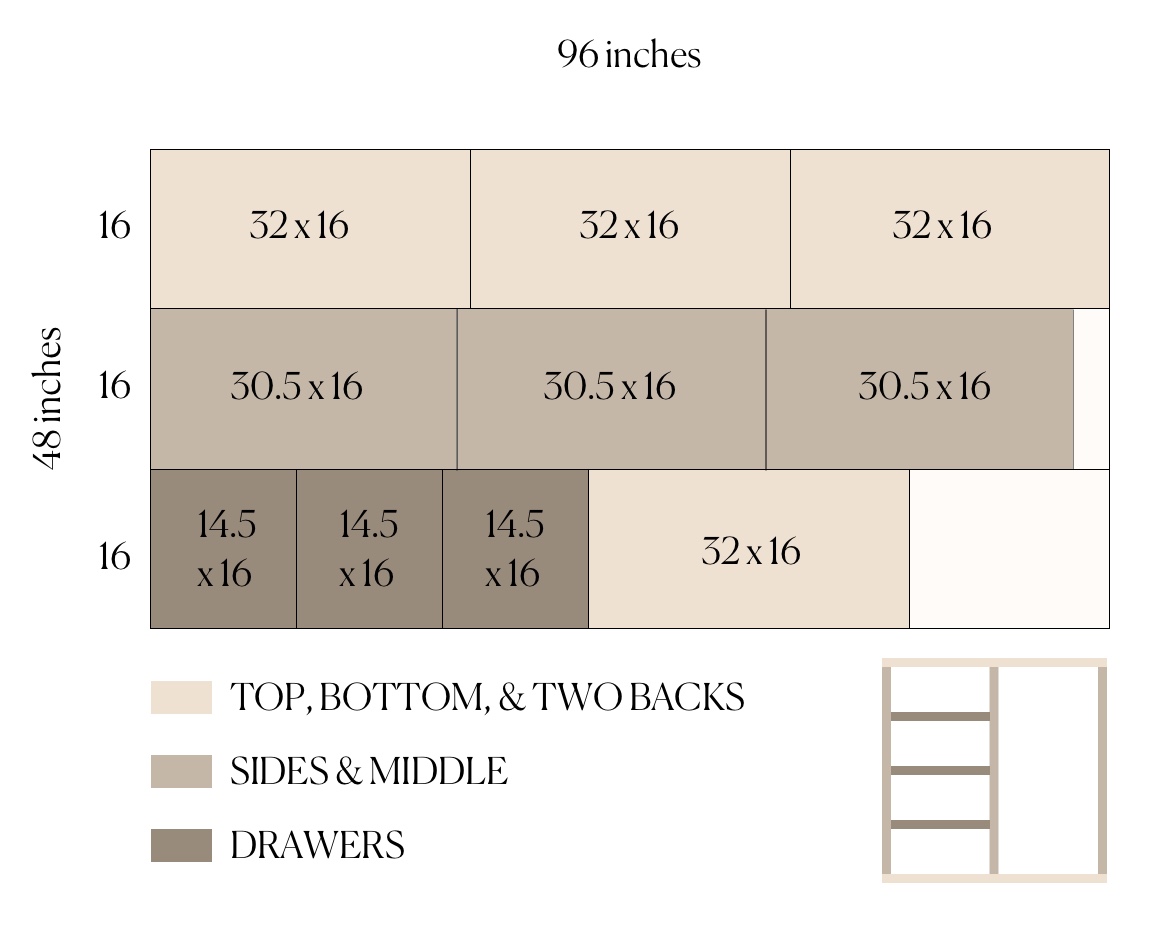
It has to be perfect to work on one board so make sure to check and double check. We got ours cut at Home Depot and I would highly recommend that. It will save you so much time since their machine will be the most accurate. But you do have to rely on their employee so be that annoying person and double check them ha.
The dresser is 32″ wide by 32″ tall and 16″ deep. We chose this so that we could cut two boards to fit the back and hide the seam. It also worked with the baskets I bought at Target.
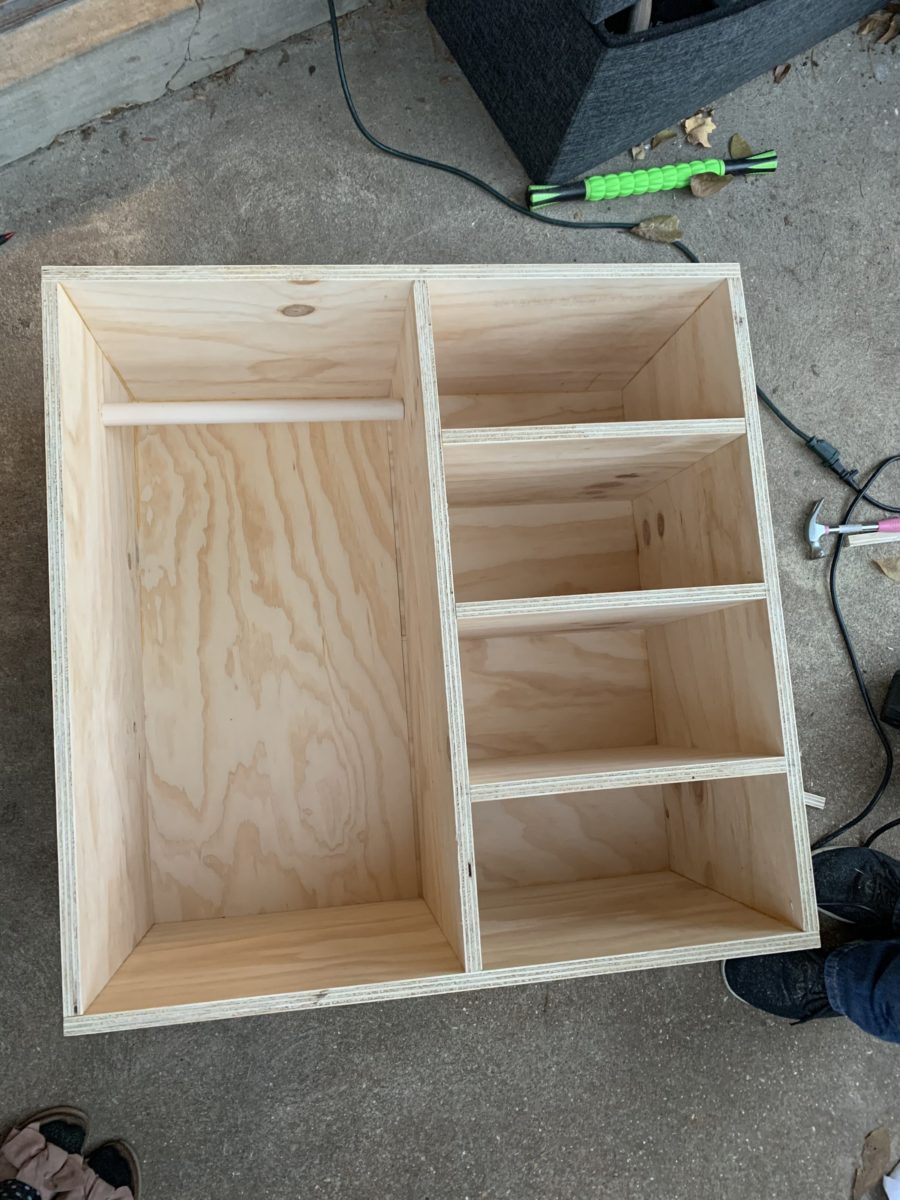
If you want to paint, stain, or seal the dresser that would cost a bit more but a bit of sanding looks great to me! I don’t mind the plywood look, at least for this piece.
I was incredibly lucky to have my Dad’s help in making this and it turned out exactly how I envisioned it! I would love to see your DIY dressers, please share them with me in the comments below or by tagging me on Instagram at @mckenziesuemakes!


